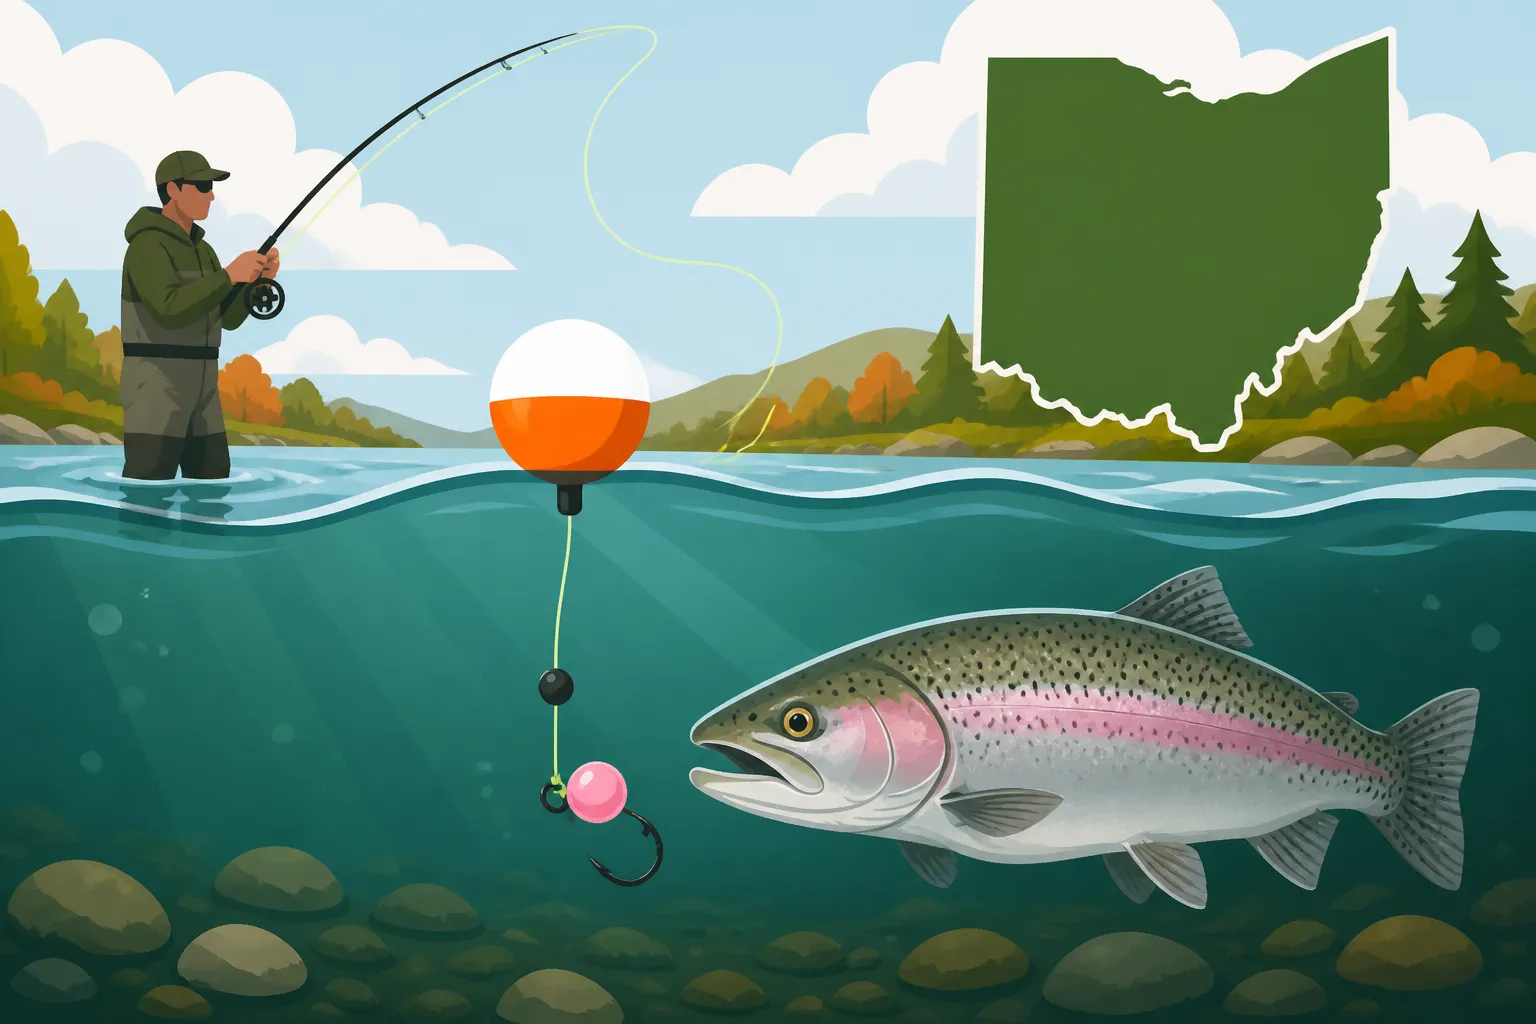
How to Fish a Bead Under an Indicator for Steelhead
If you've ever spent a chilly morning on an Ohio steelhead stream, watching your line intently, you know the frustration of missed bites. Sometimes, those powerful chrome rockets hit like a freight train, but often, their take is so subtle it feels like a ghost tickle on your line. That’s where the magic of fishing a bead under an indicator truly shines, turning those phantom nibbles into solid hookups. This guide is all about demystifying this incredibly effective technique, helping you read the water, understand your gear, and finally land those elusive steelhead.
Understanding the Power of Beads and Indicators for Steelhead
Steelhead fishing, especially in Ohio's clear tributaries like the Rocky River, Grand River, or Conneaut Creek, demands finesse. These fish are smart, wary, and often conditioned to seeing a lot of angling pressure. That's why presenting something natural and detecting even the slightest disturbance is paramount.
Why Beads Are So Effective for Steelhead
Let's be honest, steelhead are often opportunists, and when they're running up rivers to spawn or when they're staging, they're keyed in on one thing: fish eggs. Whether it's salmon eggs, trout eggs, or even other steelhead's eggs, a bead perfectly mimics this natural food source. The beauty of beads is their simplicity and their ability to trigger an instinctual bite.
Think about it: during spawning season, thousands upon thousands of eggs drift downstream. Steelhead position themselves to intercept this protein-rich buffet. A small, round, semi-translucent bead, drifting naturally in the current, looks exactly like one of these eggs. The trick is selecting the right size and color to match the natural hatch or the prevalent conditions. For example, popular choices often include "peachy king," "tangerine," or various mottled roe patterns that range from light orange to a more vibrant pink. Some anglers swear by UV-reactive beads, especially on overcast days or in deeper, darker runs. You can find a huge variety of these on Amazon or at local tackle shops. The goal is always to present a realistic imitation that floats subtly, convincing a steelhead that it's a real, easy meal.
The Role of the Indicator in Detecting Bites
Now, if a bead is the tempting bait, the indicator is your all-seeing eye. Steelhead don't always grab an egg and run. Often, especially in cold water or when they're lethargic, they'll simply "mouth" it, or the current might just push the bead into their open mouth. This can be an incredibly subtle movement, barely a flicker on your line, and if you're not paying attention, you'll miss it every time.
An indicator, essentially a small float, gives you a visual cue for these ultra-light takes. It allows you to maintain a drag-free drift, ensuring your bead tumbles naturally at the same speed as the current. When a steelhead intercepts that bead, the indicator will do something out of the ordinary. It might dip slightly, hesitate, dart sideways, or even just stop momentarily. Even the slightest alteration in its natural drift can signal a bite. Many anglers, myself included, have spent years developing an almost sixth sense for these subtle movements. Without an indicator, trying to detect these bites would be like trying to hear a whisper in a hurricane. It's truly a game-changer, allowing you to react quickly and set the hook before the fish spits the offering.
Essential Gear for Bead Fishing Under an Indicator
Getting the right gear isn't about spending a fortune, but rather about choosing components that work together to maximize sensitivity and presentation. Steelhead fishing is often a balance of power and finesse.
Rod, Reel, and Line Selection
For bead fishing with an indicator, a longer, more sensitive rod is your best friend. Typically, anglers opt for a spinning rod between 9 to 11 feet in length, with a medium-light or medium action. The extra length helps with line management, especially when mending your line to achieve a perfect drift, and also aids in cushioning the runs of powerful steelhead. Brands like Fenwick, Okuma, and St. Croix offer excellent options that provide the backbone needed to fight large fish while retaining the sensitivity to feel delicate taps.
Pair that rod with a quality spinning reel in the 2000-3000 size range. Smooth drag is non-negotiable, as steelhead are notorious for explosive runs. You'll want a reel that can handle those sudden bursts of power without seizing up.
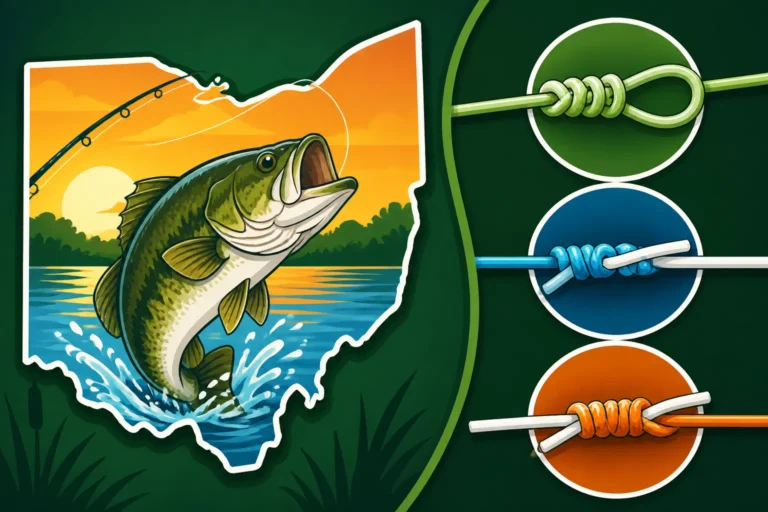
Line choice is critical. Many anglers start with a main line of 8-10 lb test monofilament or braided line. If you're using braid, which offers incredible sensitivity and no stretch, you must tie on a fluorocarbon leader. Fluorocarbon is nearly invisible in water, sinks faster, and is more abrasion-resistant—all huge advantages when fishing clear rivers for wary fish. A leader typically ranges from 4 to 8 lb test, depending on water clarity and fish activity. The length can vary too, but a good starting point is 4-6 feet of fluorocarbon tied to your main line with a strong knot like a FG knot or a double uni knot. Check out our guide on Choosing the Right Ohio Fishing Line for more in-depth advice on this.
Choosing the Right Beads and Indicators
The world of beads for steelhead is vast, but you don't need every single color and size. Start with a few versatile options. As mentioned, "peachy king," "tangerine," "natural roe," and a bright "chartreuse" or "pink" are excellent foundational colors. Sizes typically range from 6mm to 10mm, with 8mm being a very popular all-around choice. Keep an eye on local conditions—if you see a lot of natural eggs in the water, try to match that size and color. You can often buy bead kits or individual packs from various online retailers, including Amazon.
Indicators also come in various forms, each with its pros and cons:
| Indicator Type | Description | Pros | Cons | Best Use |
|---|---|---|---|---|
| Yarn Indicator | Small tuft of fluorescent yarn attached to the leader. | Very lightweight, highly sensitive to subtle bites, lands softly. | Can absorb water and get heavy, harder to cast in wind, not ideal for deep water. | Finesse fishing, clear shallow water, spooky fish. |
| Foam Strike Indicator (Fixed) | Small, buoyant foam bobber that clamps onto the leader. | Excellent visibility, easy to adjust depth, good for turbulent water. | Can create more splash when casting, less sensitive than yarn, can damage leader if clamped too tightly. | General purpose, medium to fast currents, easy depth changes. |
| Slip Indicator (Float) | A float that slides up and down the main line, stopped by a knot. | Allows for very deep presentations, easy to cast long distances, no leader damage. | More complex rigging, requires a stop knot, not as sensitive for ultra-subtle takes as yarn. | Deep runs, long casts, varied depths. |
| Pinch-On Indicator | Small, soft foam or plastic indicator that pinches directly onto the line. | Quick and easy to attach/remove, good visibility. | Can weaken or crimp leader if not applied carefully, less sensitive than yarn. | Quick adjustments, beginner-friendly, shallow to medium depths. |
For Ohio's steelhead alley, many anglers find great success with bright foam strike indicators, often in fluorescent orange or chartreuse, because they offer excellent visibility in varying light conditions and can be easily adjusted for depth.
Rigging Your Setup for Success
Now that you have your gear, let's talk about putting it all together. A properly rigged bead setup is key to getting those bites and ensuring a clean presentation.
Step-by-Step Bead Rigging
This is where attention to detail pays off. A poorly rigged bead can result in unnatural drifts or lost fish.
- Tie your leader: Start by tying your fluorocarbon leader to your main line. A 4-6 foot leader of 6 or 8 lb test is a great starting point for most conditions. Make sure your knots are strong and neat.
- Add your stop knot: This is crucial. Before you thread your bead, you need a way to keep it from sliding down to your hook. A simple bobber stop knot works perfectly. You can use specialized bobber stop material or even a small piece of rubber band or dental floss. Slide it onto your leader, leaving a tag end to tighten it later.
- Thread your bead: Slide your chosen bead onto the leader. Push it up against the stop knot.
- Add a small weight (optional but recommended): Depending on the current and depth, you might need a small amount of weight to get your bead down to where the fish are. Micro split shot or a small slinky weight are common choices. Place this weight above your stop knot and bead, usually 6-12 inches up the leader. This setup allows the bead to drift freely and naturally below the weight, mimicking a dislodged egg. This is a subtle but critical detail.
- Tie on your hook: At the very end of your leader, tie on a single hook. Typically, a size 8 or 10 single salmon/steelhead hook is ideal. Barbless hooks are preferred, and often required, in many Ohio steelhead streams to protect the fish for future generations. Use a strong knot like a Palomar or improved clinch.
- Adjust the bead's position: Now, slide your stop knot down so that the bead sits about 1-2 inches above the hook. This small gap is essential; it allows the bead to look like an unattached egg, and when the fish mouths the egg, the hook is right there for a solid hookset.
It sounds like a lot of steps, but once you do it a few times, it becomes second nature. This exact setup helps create that realistic drift that steelhead can't resist.
Attaching and Adjusting Your Indicator
Once your bead and hook are rigged, it's time to attach your indicator. The placement of your indicator on the main line is critical for controlling your depth.
For fixed foam indicators, you'll typically slide it onto your line and then secure it by pressing a small peg or twisting the halves together. For yarn indicators, you might use a small piece of rubber O-ring or a piece of fly line backing to create a snug loop that holds the yarn in place without damaging your line. Slip floats, as mentioned, are a bit different, using a stop knot above the float to set the depth.
The general rule of thumb for indicator depth is to set it about 1.5 to 2 times the estimated depth of the water you're fishing. So, if you're in a run that looks about 3 feet deep, set your indicator 4.5 to 6 feet up from your hook. This ensures your bead is drifting right in the strike zone, near the bottom where steelhead often hold. However, always be ready to adjust! If you're snagging the bottom frequently, your indicator is too far up. If you're not getting bites and the water looks deeper, move it further up. Experimentation is key to finding the "sweet spot" on any given day. Factors like water clarity, current speed, and even the "Steelhead Trout Life Cycle in Lake Erie Tributaries" can all influence where fish are holding, so don't be afraid to tweak your setup.
Mastering the Drift and Detecting Bites
Rigging is one thing, but actually fishing the bead under an indicator is where the art truly comes in. It's about achieving a natural presentation and then having the discipline to react to even the most minute changes.
Achieving a Natural Drift
The cornerstone of successful indicator fishing is a natural, drag-free drift. Imagine a natural egg tumbling downstream—it moves at the exact speed of the current, without any pulling or slowing. Your goal is to replicate that.
- Cast Upstream: Make an upstream cast, typically at a slight angle across the current. This gives your line time to straighten out and your weight to sink the bead.
- Mend Your Line: Immediately after your cast, you'll often need to "mend" your line. This means lifting your rod tip and flipping any slack line that's bowing downstream back upstream. This action reduces drag on your main line, allowing your indicator and bead to drift naturally. This might sound complicated, but with practice, it becomes fluid. For more tips on this, our guide on Casting Techniques for Steelhead can be incredibly helpful.
- Follow Your Indicator: Keep your rod tip pointed directly at your indicator, moving it downstream at the same speed as the current. This maintains a direct line to your indicator, allowing you to react instantly to a bite.
- Target Current Seams and Structure: Steelhead love holding in current seams, behind rocks, in deeper pools, or near fallen logs. These are classic "Steelhead Holding Water" spots. Focus your drifts through these areas, ensuring your bead is tumbling right into their strike zone.
The entire process, from cast to retrieve, should feel smooth and controlled. Any unnatural hesitation or speed change in your indicator's drift will often deter a wary steelhead.
Recognizing the Subtle Steelhead Take
This is perhaps the most challenging, yet most rewarding, part of indicator fishing. As we discussed, steelhead bites aren't always aggressive. Here's what to look for:
- The Dip: The most obvious sign is when your indicator dips or goes completely under the surface. This is a clear take, and you should set the hook immediately.
- The Hesitation: Your indicator is drifting smoothly, and then it just… stops. Even if it doesn't go under, a sudden, unexplained pause in its downstream movement is almost always a bite.
- The Dart: The indicator moves sideways, against the current, or makes an unnatural upstream twitch. Again, this indicates a fish has taken your offering.
- The "Phantom" Bite: This is the subtlest of all. Your indicator might just slightly wobble, or look like it's being "pushed" by something unseen. Trust your gut. If something looks different, even if it's barely perceptible, assume it's a bite. Many experienced anglers set the hook on anything that "doesn't look right."
Setting the Hook: When you see a take, don't hesitate. A quick, firm, upward sweep of the rod tip is all it takes. Don't rear back like you're trying to set a hook on a bass. A gentle but solid sweep will drive the hook home without snapping your leader. Remember, you're using a long, sensitive rod, which does a lot of the work for you. Understanding When Ohio Steelhead Runs Start can help you anticipate when these fish are most active and likely to bite.
Fishing a bead under an indicator is an incredibly effective technique for Ohio steelhead. It takes patience, practice, and a keen eye, but the rewards—a chrome beauty pulling hard on the other end of your line—are absolutely worth it. So bundle up, head to one of our beautiful steelhead streams, and give this technique a try. You might just find your new favorite way to chase these amazing fish.
Disclaimer
Fishing regulations, license requirements, and seasonal rules can change. Always consult the latest Ohio Department of Natural Resources (ODNR) fishing regulations booklet or their official website before heading out on the water. This guide is for informational purposes only and does not substitute for official regulations.